こんにちは。ジップサービスでデザイナーをしているものです。
今回は背景に動画を設置する比較的簡単な方法をご紹介しようと思います。
背景動画がポピュラーになったのは既に数年前の話ではありますが、まだまだ需要はありそうです。
背景動画の参考サイト
ということで、説明に入る前にまずは背景動画が実際に使われているサイトを紹介したいと思います。
目次
Re:creation
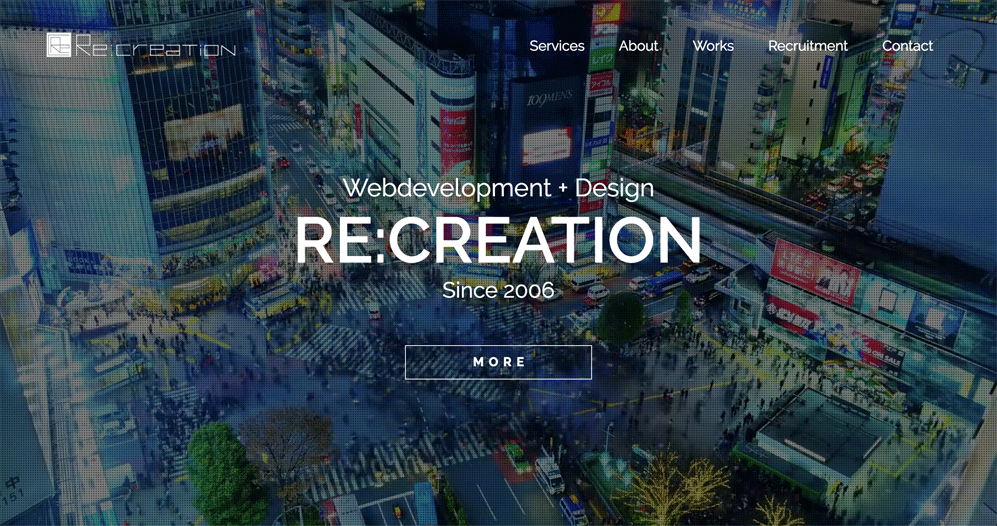 https://re-creation.co.jp/
動画そのものがとても素敵です。都会的なイメージとカラーバランスで未来感が漂います。
CROSSBACKYARD.COM
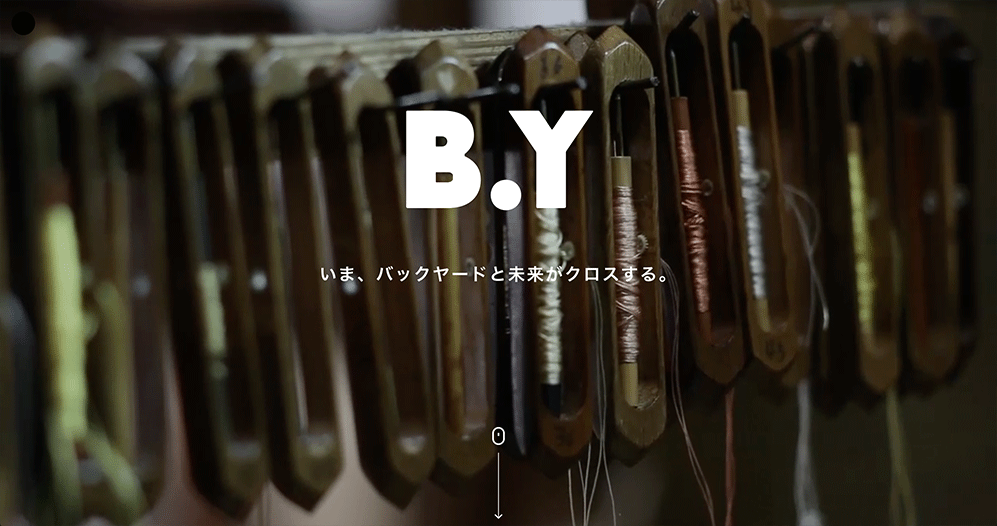 https://crossbackyard.com/
事業内容が瞬時に伝わってきます。また人にフォーカスを当てていて親近感を覚えます。
AbemaTV
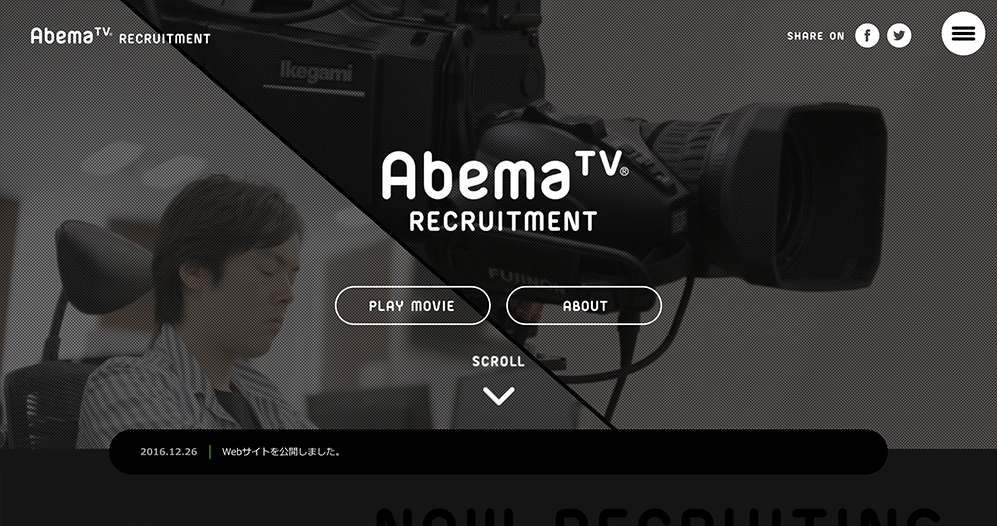 https://recruit.abematv.co.jp/
映像配信サービスならではのハイクオリティーです。チャンネルの豊富さと運営側の情熱が瞬時に伝わります。
※上記3件のサイトは2017年5月時点のものであり、現在は異なる可能性がございますのでご了承ください
bideo.jsを使用
参考になる背景動画サイトを紹介させてもらったところで制作方法の説明に入ります。
今回はbideo.jsというスクリプトを使って実装するパターンを紹介いたします。
bideo.jsの使い方
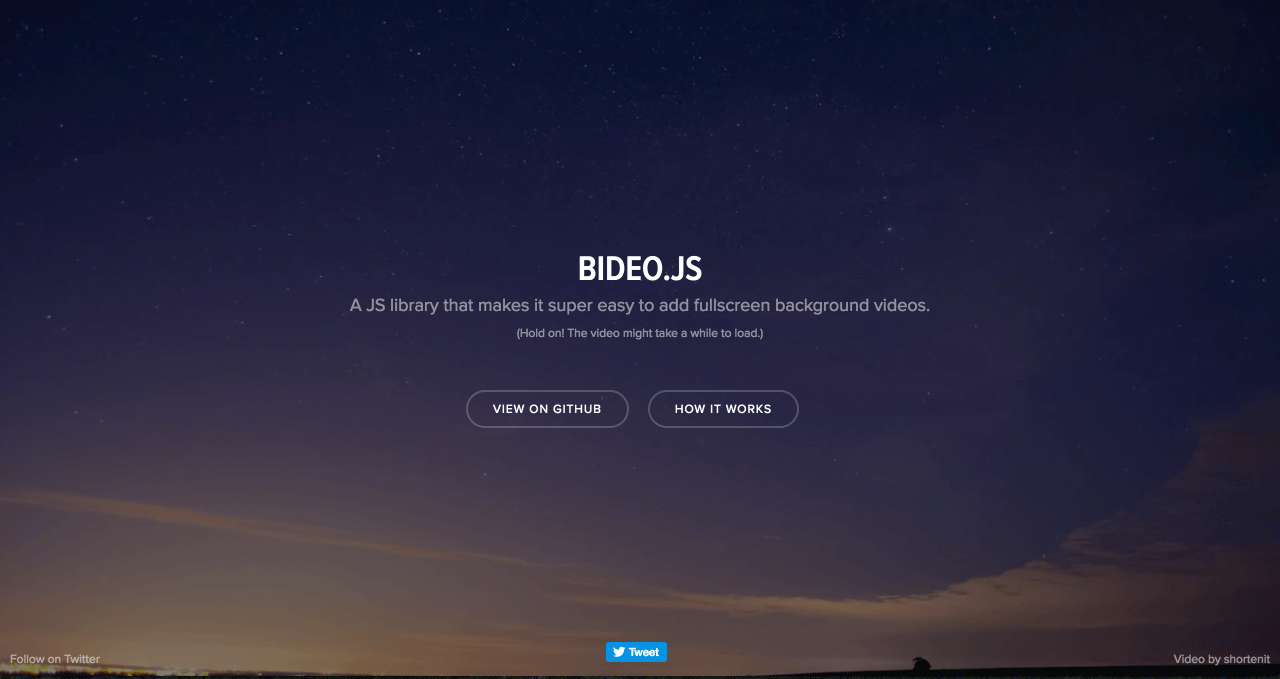
1.bideo.jsをダウンロード
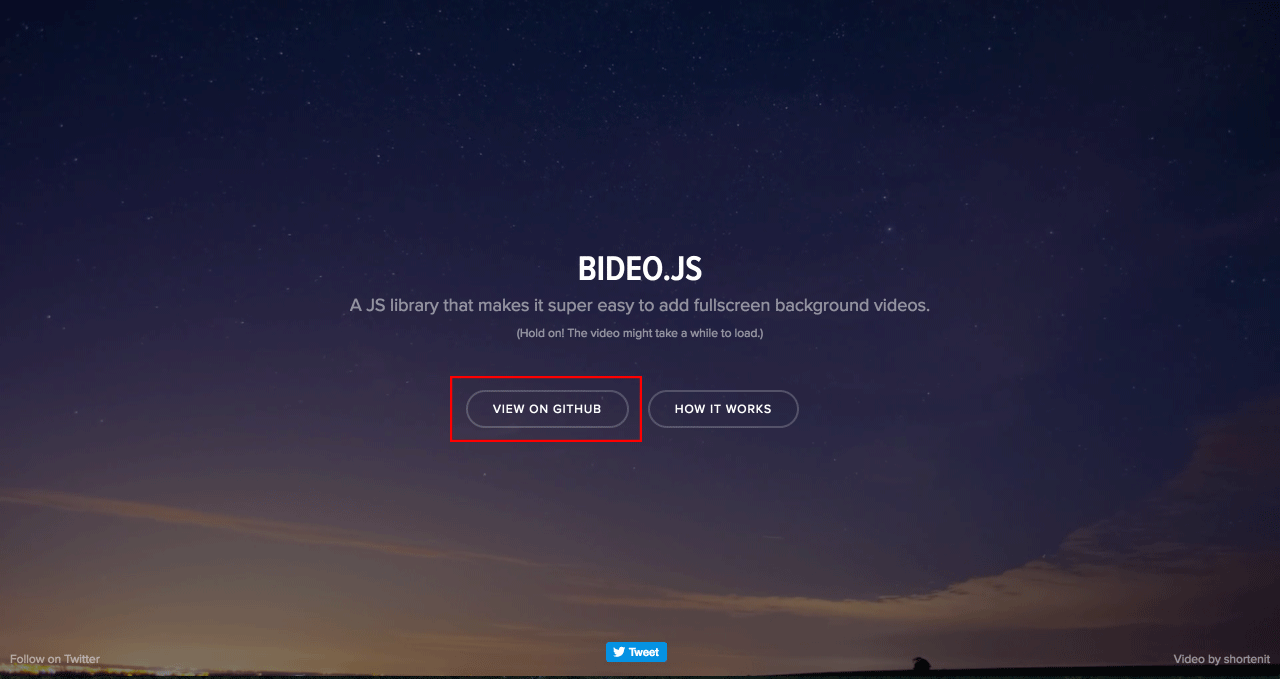
https://rishabhp.github.io/bideo.js/にアクセスしていただき「View on Github」をクリックします。
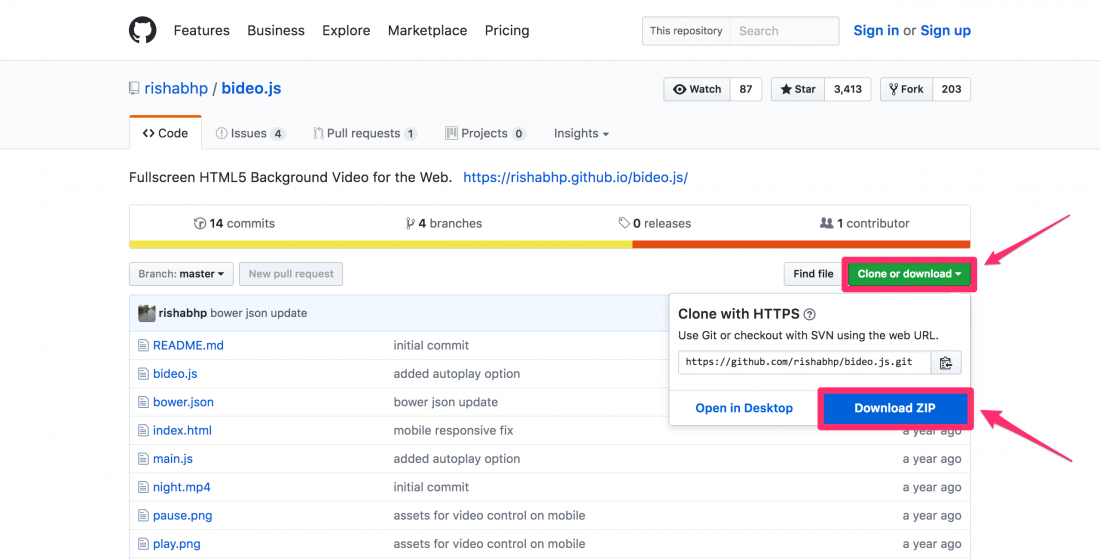
Githubに推移しますので、上記の手順でダウンロードします。
2.スクリプトの読み込み
ダウンロードしたzipファイルを解凍し、中にある「bideo.js」と「main.js」を読みます。
  <script src="bideo.js"></script>
  <script src="main.js"></script>
</body>
3.動画ファイルの設定
「main.js」の「src: ‘video/top.mp4’,」の行を自身が設定した動画ファイルに変更します。
(function () {

  var bv = new Bideo();
  bv.init({
    // Video element
    videoEl: document.querySelector('#background_video'),

    // Container element
    container: document.querySelector('body'),

    // Resize
    resize: true,

    // autoplay: false,

    isMobile: window.matchMedia('(max-width: 768px)').matches,

    playButton: document.querySelector('#play'),
    pauseButton: document.querySelector('#pause'),

    // Array of objects containing the src and type
    // of different video formats to add
    src: [
      {
        src: 'video/top.mp4',
        type: 'video/mp4'
      },
      {
        src: 'night.webm',
        type: 'video/webm;codecs="vp8, vorbis"'
      }
    ],

    // What to do once video loads (initial frame)
    onLoad: function () {
      document.querySelector('#video_cover').style.display = 'none';
    }
  });
}());
※今回は「top.mp4」という動画を使用しました
4.HTMLの記載
該当箇所に記述します。<video id="background_video" loop muted autoplay></video>
今回デモとして下記のhtmlを作成しました。
<!DOCTYPE html>
<html lang="ja">
<head>
    <meta charset="UTF-8">
    <title>GIP blog DEMO</title>
    <meta description="GIP blog DEMO">
  <link rel="stylesheet" type="text/css" href="css/style.css">
</head>
<body>
    <div id="container">
        <video id="background_video" loop muted autoplay></video>
        <div id="video_cover"></div>
        <div id="overlay"></div>

        <section id="main_content">
            <div id="head">
                <h1>GIP blog DEMO</h1>
                <p class="sub_head">GIP blog DEMO GIP blog DEMO GIP blog DEMO</p>
            </div>
        </section>
    </div>
  <script src="js/bideo.js"></script>
  <script src="js/main.js"></script>
</body>
</html>
※各々の環境に併せて変更してください
5.CSSの記述
動画設置に必要なスタイルを記述してます。
* {
    margin: 0;
    padding: 0;
}

html,
body {
    width: 100%;
    height: 100%;
    overflow: hidden;
    text-align: center;
}

#container {
    overflow: hidden;
    position: absolute;
    top: 0;
    left: 0;
    right: 0;
    bottom: 0;
    height: 100%;
}

#background_video {
    position: absolute;
    top: 50%;
    left: 50%;
    transform: translate(-50%, -50%);
    object-fit: cover;
    height: 100%;
    width: 100%;
}

#video_cover {
    position: absolute;
    width: 100%;
    height: 100%;
    background: url('video_cover.jpg') no-repeat;
    background-size: cover;
    background-position: center;
}

#overlay {
    position: absolute;
    top: 0;
    right: 0;
    left: 0;
    bottom: 0;
    background: rgba(0, 0, 0, 0.5);
}

#content {
    z-index: 2;
    position: relative;
    display: inline-block;
    top: 50%;
    transform: translateY(-50%);
}

#content h1 {
    text-transform: uppercase;
    font-weight: 600;
    color: #fff;
    font-size: 35px;
}

#content .sub_head {
    color: rgba(255,255,255,0.5);
    font-size: 18px;
    margin-top: 18px;
}
※各々の環境に併せて変更してください
6.完成
デモサイトまとめ
今回は簡単に背景動画を実装できる方法を紹介させていただきました。
動画を使ったアプローチは、まだまだ需要がありそうです。
それではまた次回。